
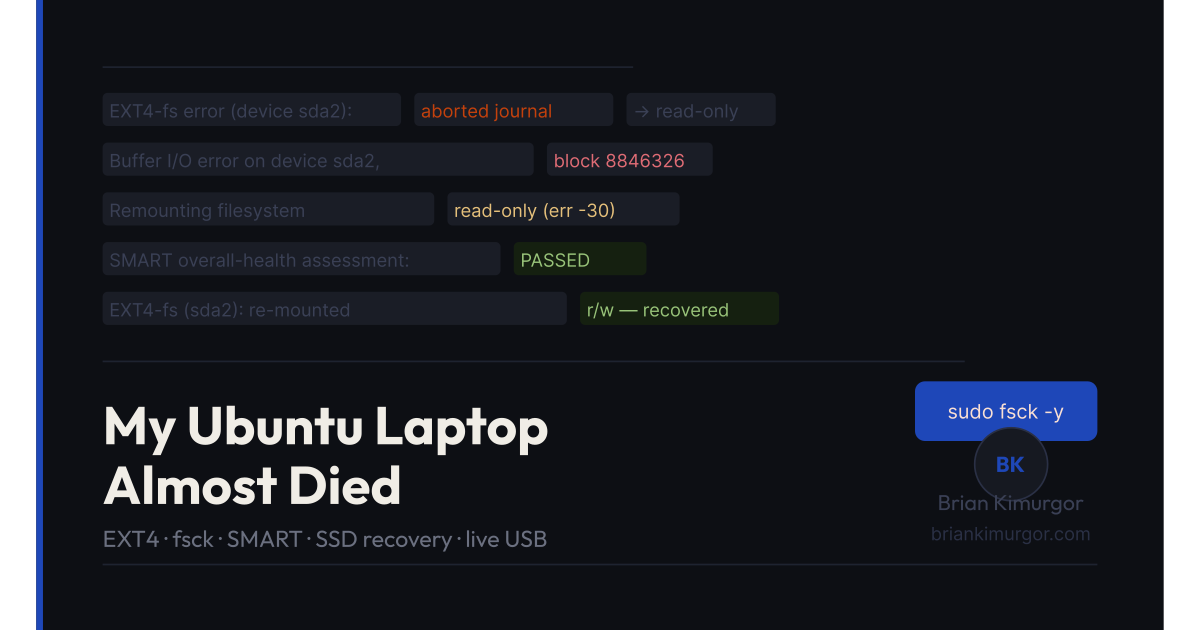
What started as a noisy fan turned into a full filesystem recovery. Here's the exact trail of commands that saved my machine — and what every developer should know before this happens to them.
TL;DR — the recovery steps
- Ruled out RAM —
free -hshowed 11GB available. Not the issue. - Spotted I/O errors —
sudo dmesgrevealed EXT4 journal abort andsda2remounted read-only. - Booted from live USB — ran Ubuntu "Try" mode from my bootable flash drive.
- Unmounted the partition —
udisksctl unmount -b /dev/sda2 - Ran fsck —
sudo fsck -y /dev/sda2repaired the corrupted journal. - Verified SSD health —
sudo smartctl -a /dev/sdareturned PASSED with zero bad sectors. - Rebooted — filesystem came back read-write. All good.
Step 1: Rule out the obvious suspects
It started innocuously. My HP ZBook 14u had been spinning its fan hard at boot for a while. I'd written it off as a BIOS quirk. Then apps started hanging. Then sudo apt install anything started throwing:
Could not open file /var/cache/apt/archives/partial/... - open (30: Read-only file system)
That's when I knew something was actually wrong.
When a Linux machine starts behaving badly, the instinct is to blame whatever you last installed or opened. For me, Brave had a huge cache and was visible in the process list. First thing I checked was RAM:
free -h
               total        used        free      shared  buff/cache   available
Mem:            14Gi       3.0Gi       7.9Gi       749Mi       5.1Gi        11Gi
Swap:          4.0Gi          0B       4.0Gi
11GB available. Swap untouched. RAM completely ruled out. If your available memory is below ~500MB or swap is being used heavily, that's your culprit — but not here.
Next I checked CPU frequency, suspecting thermal throttling:
cat /proc/cpuinfo | grep "cpu MHz" | head -5
cpu MHz  : 2700.008
cpu MHz  : 2700.003
cpu MHz  : 2700.038
2700 MHz on an i7 — perfectly healthy. No throttling. So it wasn't heat, it wasn't RAM, it wasn't the browser cache. Something else was going on.
Step 2: The read-only filesystem error reveals everything
When apt install failed with error 30: Read-only file system, that was the real signal. Linux remounts a filesystem as read-only when it detects corruption — it's a protective measure. The kernel essentially says: "I can't trust writes on this device, so I'm going to stop writing to it entirely."
I checked what dmesg had to say:
sudo dmesg | grep -i "sda\|nvme\|disk" | tail -20
[  424.301581] EXT4-fs error (device sda2): ext4_journal_check_start:86: Detected aborted journal
[  424.528652] EXT4-fs (sda2): Remounting filesystem read-only
[  424.811524] Buffer I/O error on device sda2, logical block 8846326
[  424.811557] Buffer I/O error on device sda2, logical block 8846327
[  424.811570] Buffer I/O error on device sda2, logical block 8846328
Three distinct problems in those logs — and they tell a clear story:
Detected aborted journal — The EXT4 journal (which tracks filesystem changes to prevent corruption) was left in an incomplete state. This almost always happens after an ungraceful shutdown — a power cut, forced reboot, or drained battery with no graceful unmount.
Remounting filesystem read-only — The kernel detected the journal abort and immediately switched to read-only mode to prevent further damage. This is correct behavior — it saved the data.
Buffer I/O errors on logical blocks — The drive was failing to read/write specific physical sectors. Can indicate hardware failure, but also happens when the filesystem is in a corrupted state.
Step 3: Check the drive hardware before touching anything
Before doing any repair, I wanted to know if this was a software corruption issue (fixable) or a dying drive (replace it). The tool for this is smartctl from the smartmontools package.
Since my filesystem was read-only, I couldn't install anything normally. I booted from my bootable Ubuntu flash drive in "Try Ubuntu" mode and installed it there — it loads into RAM, not the disk:
sudo apt install smartmontools -y
sudo smartctl -a /dev/sda
Key values from the output:
| Attribute | Value | Status | |---|---|---| | SMART overall-health | PASSED| | Reallocated_Sector_Ct | 0 | | Reported_Uncorrect | 0 | | Temperature_Celsius | 40°C | | Power_On_Hours | 220 hrs | | Available_Reservd_Space | 100% |
The SSD was essentially brand new (220 hours) with zero hardware errors. This confirmed the problem was filesystem-level corruption, not hardware failure. The drive just needed repair, not replacement.
Warning: If your SMART output shows
Reallocated_Sector_Ctabove zero orReported_Uncorrectabove zero, treat this as a hardware warning. Runfsckbut start shopping for a replacement drive immediately.
Step 4: Back up first, repair second
Even though SMART said the drive was healthy, I backed up my important files before running any repair. From the live Ubuntu session, I could see my internal SSD in the Files app and copy everything important to the flash drive.
Filesystem repair can go wrong. If fsck encounters truly corrupted directory structures, it moves orphaned files to lost+found/ — and sometimes things don't come back perfectly. Your backup is your safety net.
Priority folders to back up: ~/Documents, ~/Downloads, ~/Desktop, any active project directories, and ~/.ssh if you keep SSH keys locally.
Step 5: Unmount and run fsck
You cannot run fsck on a mounted partition — the tool will refuse. Even in the live USB session, Ubuntu may auto-mount your internal drive. Unmount it first:
udisksctl unmount -b /dev/sda2
Note: It's
umountin most Linux contexts, butudisksctl unmountis the right command for user-space unmounting on modern Ubuntu. A common gotcha —unmount: command not foundwill trip you up if you're not expecting it.
Then run the filesystem check:
sudo fsck -y /dev/sda2
The -y flag automatically answers "yes" to all repair prompts. Let it run to completion — it can take a few minutes. You'll see it work through inodes, directory structures, and journal recovery.
The output ended with: "File system modified" — meaning it found and fixed corruption. Exactly what we wanted.
If you see
e2fsck: cannot continue, aborting— the partition is still mounted. Runudisksctl unmount -b /dev/sda2first, then retryfsck.
Step 6: Reboot and verify
After fsck, I rebooted back into the main system. To verify the repair worked:
sudo dmesg | grep -i "EXT4\|read-only\|error" | tail -20
The critical lines I was looking for:
[    2.879620] EXT4-fs (sda2): orphan cleanup on readonly fs
[    4.684416] EXT4-fs (sda2): re-mounted e9902f46-... r/w.
"Orphan cleanup on readonly fs" — the kernel cleaned up leftover journal entries on boot (normal after an fsck repair). More importantly: "re-mounted r/w" — the filesystem came back as read-write. Recovery successful.
Confirmed by successfully installing a package:
sudo apt install smartmontools -y
Clean install. No read-only errors. Back to normal.
Prevention: what to do going forward
The root cause here was an ungraceful shutdown — a forced power cut that left the EXT4 journal in a half-written state. A few things to reduce the chance of this happening again:
1. Always shut down properly. Sounds obvious, but hard-resetting via the power button is the most common cause of journal corruption. Use the Ubuntu shutdown menu or sudo shutdown now.
2. Enable fstrim for SSD health. This tells Ubuntu to periodically discard unused blocks on your SSD, improving performance and longevity:
sudo systemctl enable fstrim.timer
sudo systemctl start fstrim.timer
3. Run periodic SMART checks. Now that smartmontools is installed, run sudo smartctl -t short /dev/sda occasionally to catch hardware issues before they become failures.
4. Keep a bootable USB around. I already had one — it was indispensable here. A bootable Ubuntu USB is the single most useful recovery tool for a Linux machine.
Quick reference: the full command sequence
# Diagnosis
free -h
cat /proc/cpuinfo | grep "cpu MHz" | head -5
sudo dmesg | grep -i "sda\|EXT4\|I/O" | tail -20

# From live USB — health check
sudo apt install smartmontools -y
sudo smartctl -a /dev/sda

# From live USB — repair
udisksctl unmount -b /dev/sda2
sudo fsck -y /dev/sda2

# After reboot — verify
sudo dmesg | grep -i "EXT4\|read-only" | tail -20
sudo systemctl enable fstrim.timer
sudo systemctl start fstrim.timer
If you hit a similar issue — apps hanging, apt refusing to write, or the dreaded "Read-only file system" error — start with dmesg. The kernel logs everything. Once you know what you're dealing with, the fix is usually straightforward.